We create a moodboard. Step-by-step instructions for designers.
Maybe you’ve come across moodboards while doing home renovations, getting ready for a wedding, or working on a garden plan. But if you want to become a designer, you definitely need to rethink this useful tool.
Moodboard helps designers structure their vision of the project, find a common language with the client and receive feedback users long before the product appears.
In this article, we’ll show you how a designer can use a moodboard, and how to create a top-notch moodboard and get maximum benefit from it.
What is a moodboard?
Moodboard (also called “mood board” and “inspiration board”) is a set of specially selected images that convey the emotional context of the brand or product.
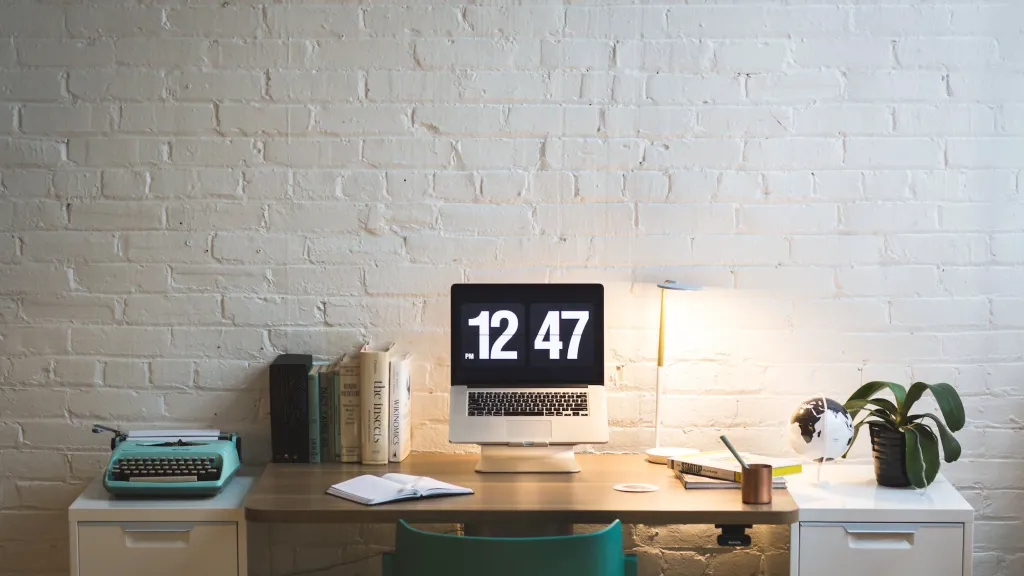
A moodboard can literally be a board to which a designer attaches printed images, drawings, and other elements (such as scraps of fabric or dry leaves) to convey the mood of your projects. But most designers use digital moodboards, which makes it possible to work on them as a whole team.
Pinterest is a great tool for creating mood boards for personal use.
Designers prefer more versatile cloud platforms like GoMoodboard, Polyvore and StudioBinder. These tools use templates, which helps the designer save a lot of time. Many of them allow you to work team over the project and edit the moodboard from different devices. Crello, a template-based graphics editor from Depositphotos, can also be used to create a mood board and present it (select the Presentation template).
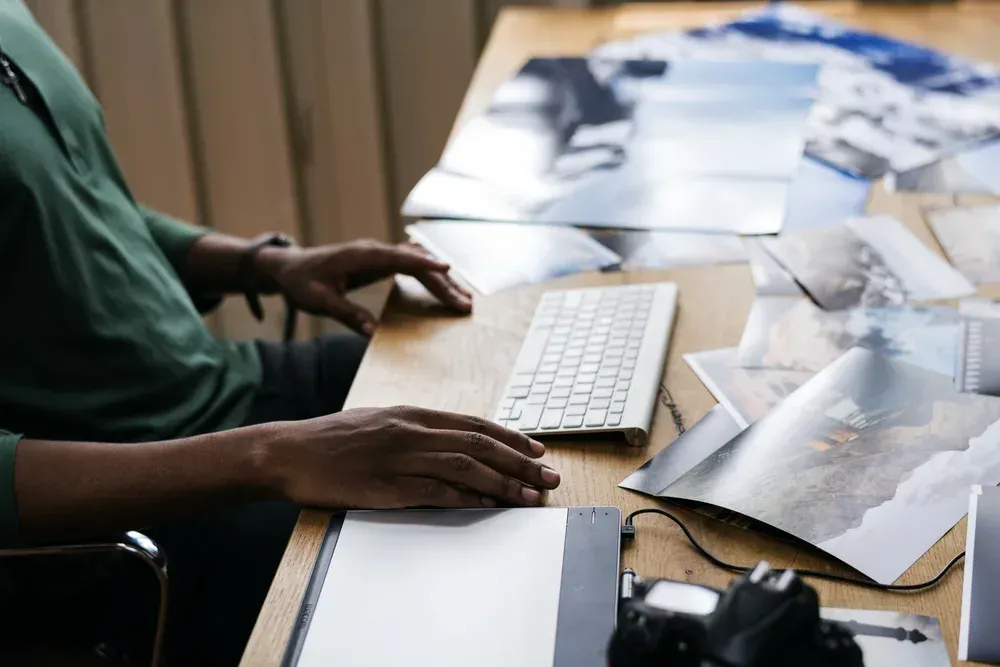
Advertising agencies and design studios usually create personalized moodboards using Photoshop and other professional tools graphic editors. They transfer their work to the client in the form of instructions or recommendations for the design and marketing departments.
What can be posted on a moodboard? As a rule, a mood board is an emotional and visual reference that is needed for the future work A moodboard is a starting point for brainstorming. And in its final form, it becomes a source of ideas for others creators from the team.
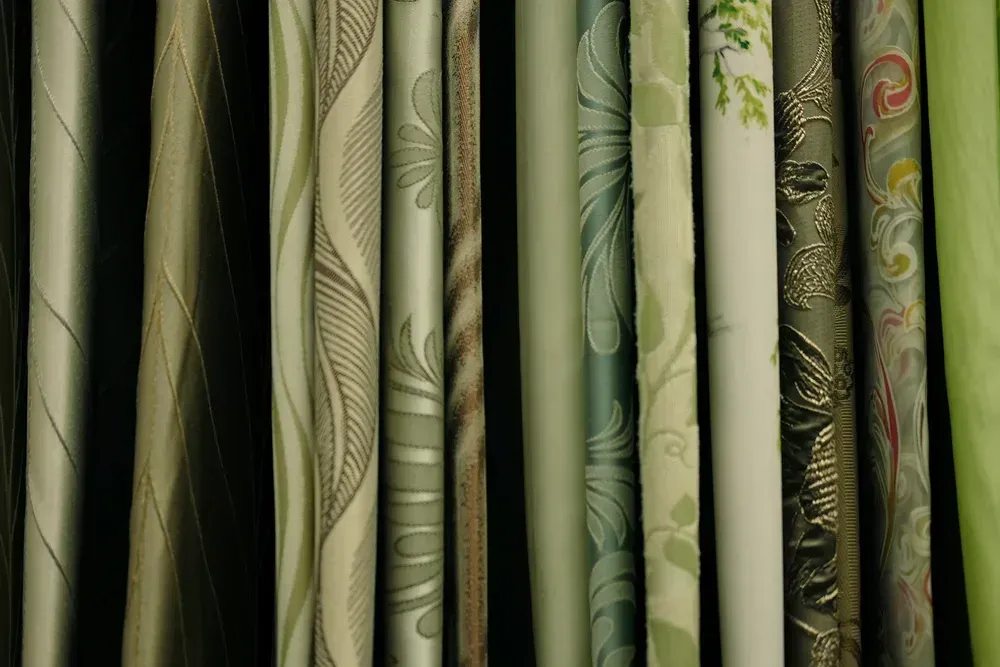
A classic moodboard uses: photos, illustrations and their parts, text that conveys emotions, signatures and notes, color palettes, design elements, examples of similar products, and fonts for inspiration.
Where moodboards are used: architecture, industrial design, web design, branding and rebranding, photo shoots and storyboards videos, advertising campaigns, theater, fashion.
Why do you need a moodboard?
If you’re in doubt about whether you need a moodboard, check out the following list. We have collected the main reasons why with with a mood board, it is easier and more pleasant to perform design tasks.
You are creating a new product concept
Usually, working on a new product looks like this: the client tells you what functions the product will perform, and you have to think its design or visual communication. In this case, the moodboard helps to structure the creative process and develop the idea, and then save it.
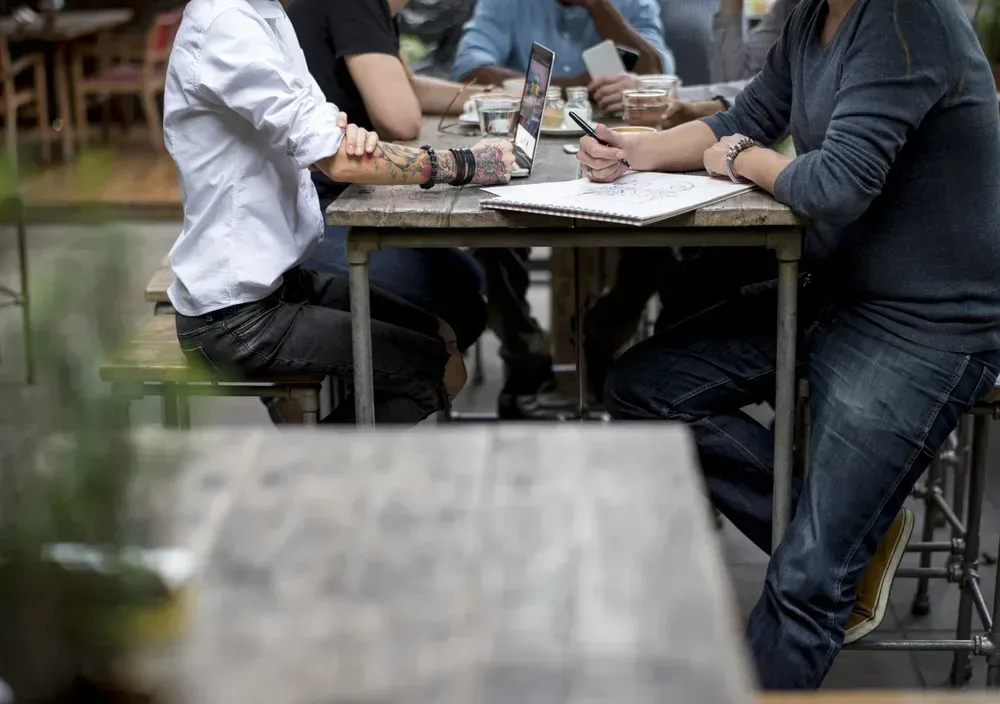
You work in a team
The most important thing in teamwork is to stay on the same wavelength during the implementation of the project. A moodboard is a set of visual and emotional references that you and your colleagues can refer to when working on various aspects of the product (for example, on interface design and visual communication in social networks).
You need to discuss the interim result with the client
Moodboard can be called the first tool for collaboration in the history of design. Even in the form of cardboard with pins, with magazine clippings and abstract sketches, it performs the main function - it gives the designer an opportunity to explain his vision and allows other team members to make changes.
You want to avoid costly mistakes
If you develop a product and then find out that users don’t like it, you have to start all over again. Moodboard will help avoid this. You can present your mood board to a focus group and get immediate feedback.

6 steps to creating a first-class moodboard
Designers from different disciplines and teams may have different strategies for creating moodboards. Brand designers start by studying competing products and receive a well-thought-out reference as a result. Modelers prefer physical boards moods and collect on them not only images, but also materials. Our step-by-step guide will be especially useful for graphics designers
Step 1. Determine the purpose of creating a moodboard
Do you need a moodboard for personal use or for a presentation? For practical purposes or for retrieval and storage creative ideas?
Give an answer to the question of what goal the creation of a moodboard will help to achieve. You may need to define the style of the future product or to develop its complete concept, including functionality and positioning.
In other words, it is important to understand why you need a moodboard.
Step 2. Look for design “landmarks”.
Any product has properties that the designer cannot or almost cannot change.
Take, for example, the branding of a coffee shop. In this case, the key characteristics of the product can be defined as “coffee” and “coffee shop”. Add to that the design requirements from your client and other product features you learned about during the research phase (eg “family business”, “muted color palette”, “minimalism”, “millennials”). Also pay attention to the competitive niche and target audience of the product.
Add to the moodboard images that symbolize all the key attributes of the product, the visual context of the target audience, competitive environment and customer requirements.
Step 3. Study and research
The new is the well-forgotten old. Someone has already worked on a similar project in the past and most likely achieved great things success Study the design of similar products and add the most interesting options to the moodboard.
Try digging deeper! You may need to turn to history to come up with a great design idea. find out how similar products looked before. If you find an unusual solution, add it to the board.
Step 4: Use artwork, neon signs, photos, and whatever inspires you
It’s time to get a little creative. Add images that are not directly related to your task, but inspire you. It can be anything from your favorite Japanese engraving from the 16th century to a flyer that you like given on the street.
You can also use animations, audio recordings and even poems. At this stage, you can also turn to stock platforms such as Depositphotos. Choose your favorite images and videos, save them to “Favorites” or download and add them on the moodboard.
Step 5: Choose fonts and colors
A graphic designer will sooner or later come to the choice of font and color palette. It is better to make this decision in advance with help moodboard Look for fonts and colors that visually blend with what you’ve already added to the board. Even if in the future you will have to design your own font, with references it will be much easier.
Step 6. Finalize the moodboard
At this point, you need to categorize everything you’ve added to the board. Remove repetitions and highlight references, which most accurately convey the “mood” of the project.
Even if you are not going to present the moodboard to the team or the client, try to make it so that an outside observer could understand your train of thought. To do this, use arrows, captions, image scaling and various composites techniques
On completion
Why use a moodboard? Often a creative project starts with active brainstorming, and a mood board is the best a way not to lose or forget creative ideas. In addition, it is a link between designers and their clients, as well as others team members
Moodboard is an adaptive, multifunctional tool. It is chosen by fashion designers, directors, architects, industrial and digital designers, lovers of interior design and thematic events.
If you have not used a moodboard in your work before, we recommend that you try this tool. You’ll be surprised how easy it is and brainstorming can be fun!